.

.

.

.


Blogarama - The Blog Directory


GOOGLE FRIEND CONNECT

Showing posts with label treat. Show all posts

June 25, 2013

Ice Cream Truffles


Hot weather means it's time for some cool treats, 
and I have a good one for you today!


Ingredients
1 pint vanilla ice cream
  • 10 malt balls, finely chopped (1/2 cup)
  • 2 Heath bars, finely chopped (1/2 cup)
  • 2 PayDay bars, finely chopped (1/2 cup)
  • 10 ounces white chocolate
Directions
Line 2 small baking sheets with parchment paper or foil. Freeze for 10 minutes. Remove 1 sheet.

Using a melon baller, scoop the ice cream to form 1-inch balls and place on sheet. Return sheet to freezer. Repeat this process with second sheet. Freeze the balls for 30 minutes.

Arrange the chopped malt balls, Heath bars, and PayDays on small plates. Working with 1 baking sheet at a time, roll the ice cream balls in the toppings, using your hands to gently press in the toppings. Freeze for 30 minutes.

For the white chocolate truffles, melt the chocolate in a bowl in a microwave or in the top of a double boiler. Dip the chilled balls, one at a time, into the melted chocolate. Remove with a fork, letting the excess chocolate drip back into the bowl. Freeze for 30 minutes.

By  , June, 2005
Recipe Source realsimple.com


These were really yummy, and now that I've made them using this particular recipe, I think I'll switch up the flavors of ice cream and candies...maybe black raspberry ice cream with chocolate ~ mmmm!


Looking Ahead:


♥  If you participate in Wordless Wednesday be sure to stop back here after 12PM US EST this afternoon and link up!   I love to see what you all have to share each week :)

♥  And if you love blog parties like I do, I also host a NO RULES Weekend Blog Party beginning Thursday afternoons.  This is a fun one, because you can share anything you like!  I want to shout out a GIANT THANK YOU to all 128 of last week's participants! You help to make the party a huge success! 


Sincerely, 


Paula

Share this PostPin ThisShare on TumblrShare on Google PlusEmail This

December 20, 2012

Oh so Pinteresting ...


1} Fun for Kids - Erupting Volcano!

2} Beautiful Landscape

3} Amazing Oven!

                     4} Something Deliciously Homemade!

5} A gorgeous bag I could never afford

6} Something I’d love to make myself

                          Photo Source
7} A handy dandy little tip to remember

8} A super cute holiday treat

9} Because handmade = love


10} A lovely little poem 

Are you on Pinterest? 
If so what is your most recent, favorite pin?


L o o k i n g   A h e a d:

Tomorrow is Friday, and I'm going to change things up a bit for the next few weeks as I've been so busy with Christmas preparations, and I'm sure many of you are as well.  

Instead of my weekly Fabulous Friday Finds post, I will begin my NO RULES Weekend Blog Party on Thursday afternoon! You can stop by anytime and link up anything! How fabulous is that?!

Once quick note about blog comments before I go ~ Normally I stop by each and every blog who links up and leave a meaningful comment.  This is because I truly appreciate the time and effort you took to stop by and join my party. Unfortunately last week the party was the largest yet, and I have still not been able to catch up on all the comments. Therefore I want to let everyone know that I am grateful for each and every linkup and comment left, and I will try my best to return the love! 


Sincerely,


Paula
Share this PostPin ThisShare on TumblrShare on Google PlusEmail This

January 23, 2012

weekend blues

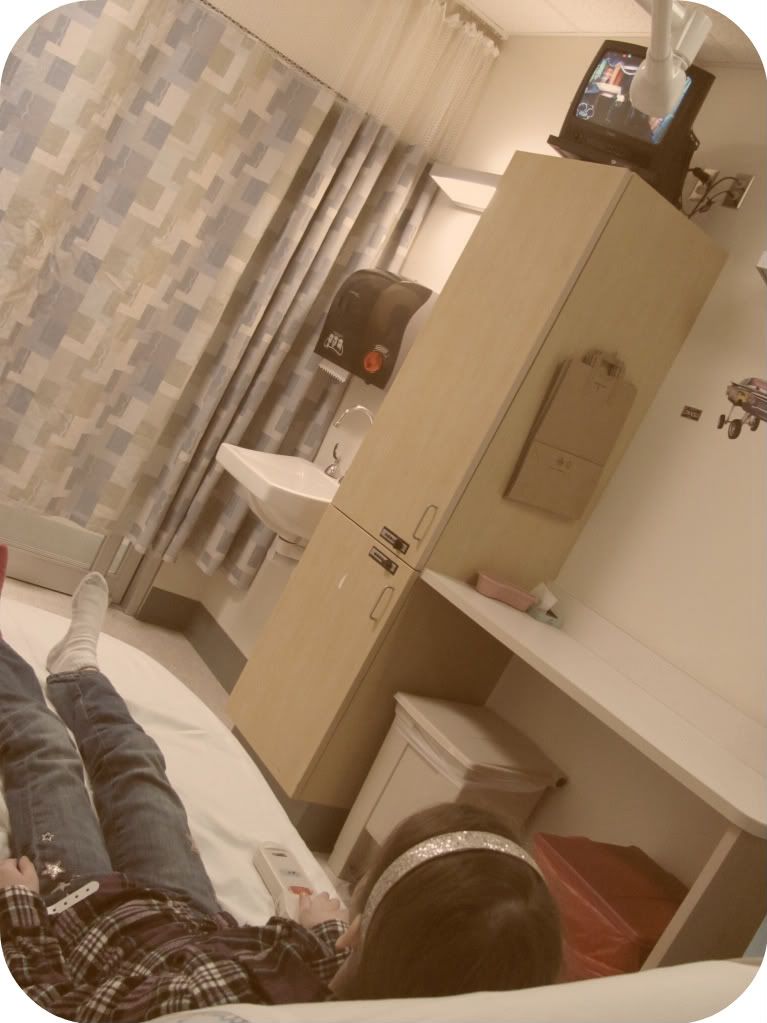
Around here my family normally has the Monday blues. Not to say that we still didn't, but the weekend was a little heartbreaking. Autumn ended up in the emergency room with a broken collarbone. When we received the news she became all teary-eyed, and I felt absolutely awful for her.


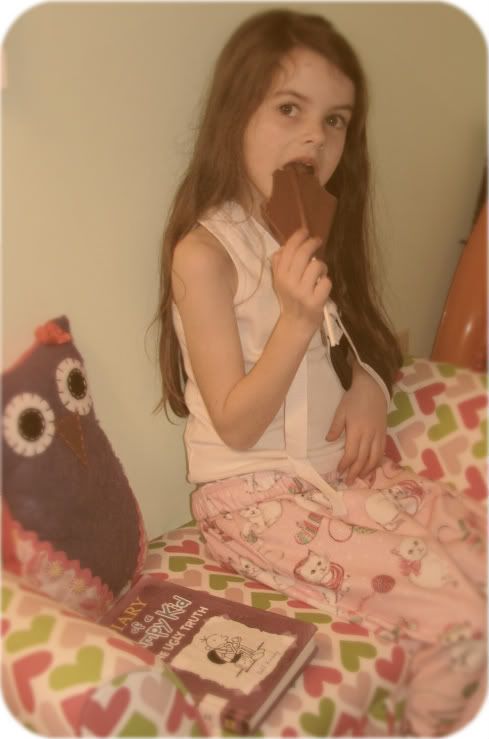
Amazingly she's not in much pain, even though we were told this is a painful injury. She spent the remainder of the weekend in her pj's, and her grandparents stopped by with a little treat for her ~ a big chocolate lollipop which I let her eat all at once cause that's the kind of mom I am :)


Hopefully 4-6 weeks from now this will all be a distant memory.

Photobucket
Share this PostPin ThisShare on TumblrShare on Google PlusEmail This

January 3, 2012

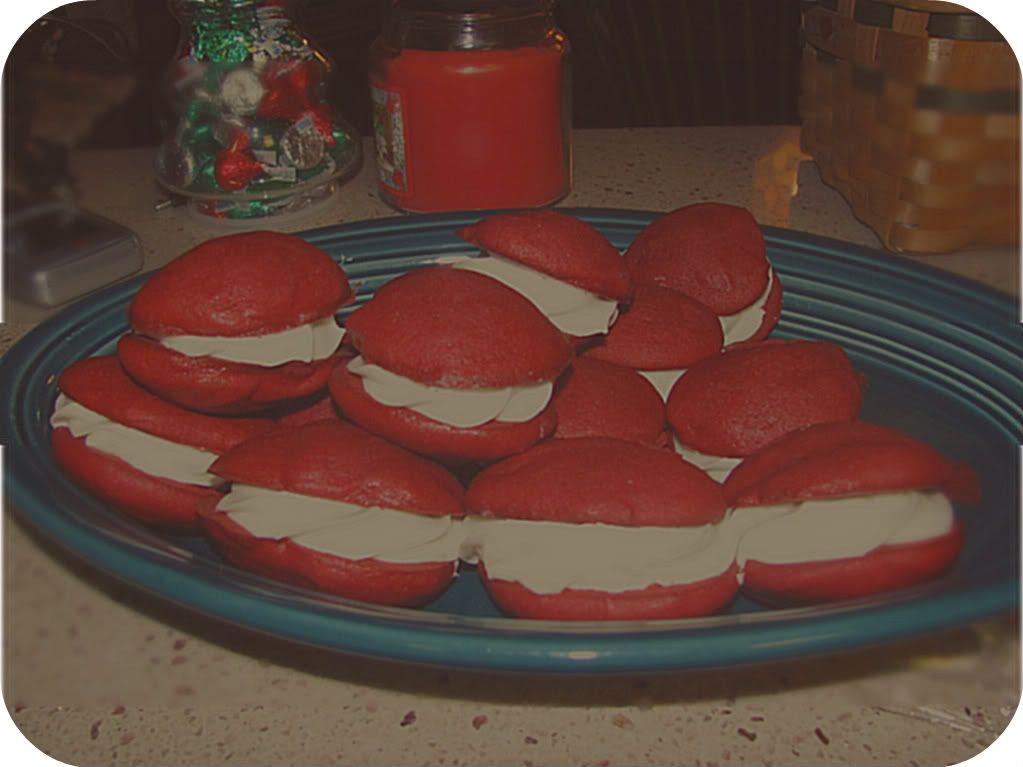
Red Velvet Whoopie Pies!


In my family "Whoopie Pies" were a common dessert that we loved as kids, and still love today. You may ask "what is a Whoopie Pie?". I've read a bit about how in different parts of the United States this dessert is also called "Moon Pies", and in some parts of the US they are unheard of. As for other countries, I'm curious as to whether or not these even exist??

Anyways, regular "Whoopie Pies" are little chocolate cakes the size of a cookie, or larger if desired. You mix the batter, bake little circles of the batter on cookie sheets, and then fill them with a creamy filling similar to buttercream frosting, but with fluff added to the mix.

Over the holidays I wanted to make something not just special, but kid-friendly as well. I started brainstorming ideas such as a "Red Velvet Cake" or cupcakes. Then I wondered if there was a recipe out there for "Red Velvet Whoopie Pies", and sure enough there was.

I located a good recipe that did not call for a boxed cake mix to be used, as most of the other recipes I found did. It was a bit of a risk making something semi-new for a holiday, but I decided to take a chance and the results were fantastic. They were so yummy in fact that I decided to share the recipe :)


Red Velvet Whoopie Pies
Adapted from Grouprecipes.com
Makes approx. 60) 1", 42) 2", or 24) 3"

Cake Ingredients

2 cups all-purpose flour
2 Tbsp. unsweetened cocoa powder
1/2 tsp. baking soda
1/4 tsp. salt
1/2 cup butter, softened
1 cup packed brown sugar
1 egg
1 tsp. vanilla
1/2 cup buttermilk
1) 1 oz. bottle red food coloring (2 Tbsp.)


Cake Directions

1) Preheat oven to 375 degrees.  Lightly grease two cookie sheets. Set aside.

2) In a medium bowl combine flour, cocoa powder, baking soda and salt.  Set aside.

3) In a large mixing bowl beat butter on medium to high speed for 30 seconds.  Beat in brown sugar til light and fluffy.  Beat in egg and vanilla. Alternately add flour mixture and buttermilk, beating well after each addition, but until just combined. Stir in food coloring.

4)  Spoon batter onto cookie sheets in 1" or 2" diameter rounds, leaving 1" between each. (If you'd like them a bit larger you can go up to 3", but you won't have as many.)

5) Bake 7-9 minutes for 1" sizes, 9-11 for 2" sizes, and estimate timing for larger sizes, all until tops are set.

6) Carefully remove from baking sheets and cool on racks.

 
Filling Ingredients
1/4 cup butter, softened
4 oz. cream cheese, softened
1) 7 oz. jar marshallow cream
2-4 cups confectionary sugar

Filling Directions
7) In a medium mixing bowl beat butter and cream cheese until smooth.  Fold in marshmallow cream.

8) This is where I made an adjustment to the filling recipe;  Add 2-4 cups of confectionary sugar, or until filling is of desired consistency. 

9) To fill, dollop filling on the flat sides of half of the cakes, and top with remaining cakes, flat sides down. 

Enjoy!

Photobucket
Share this PostPin ThisShare on TumblrShare on Google PlusEmail This